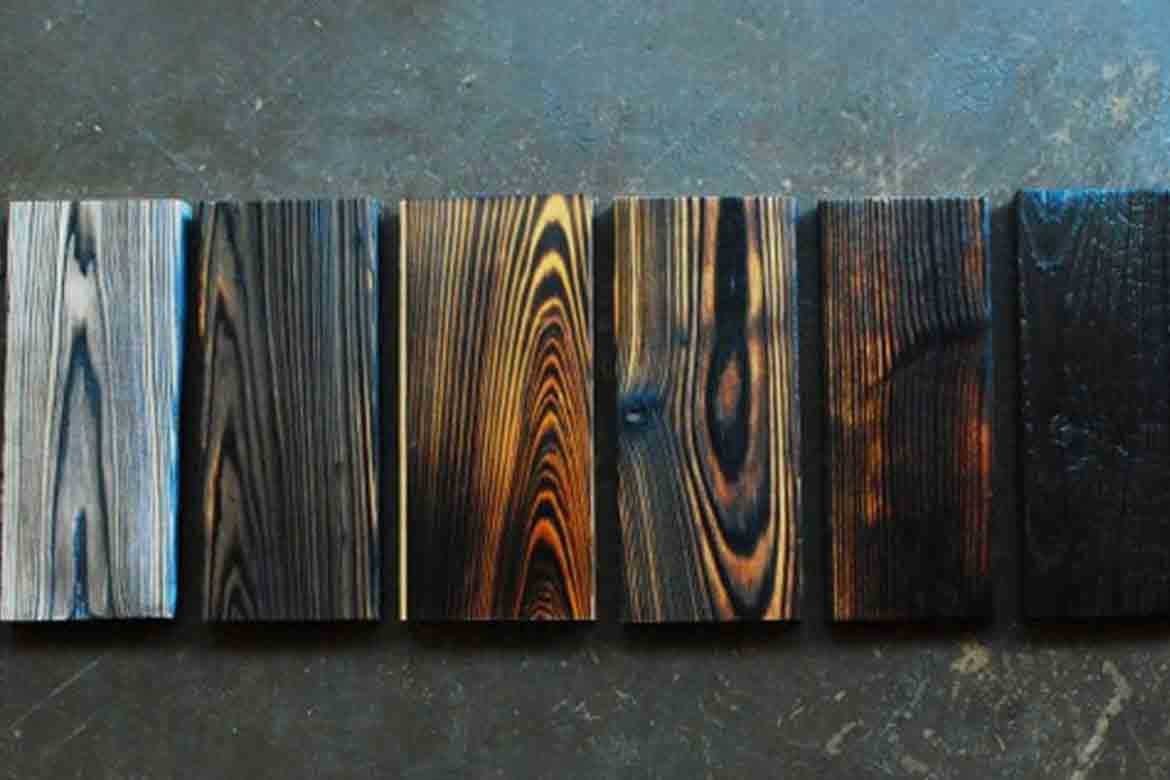
Though it is the most commonly used English term to reference Japanese wood burning, “Shou Sugi Ban” is actually an incorrect pronunciation of irregular kanji characters. The correct term is “Yakisugi” which uses the same kanji characters except with a different pronunciation.
“Yaki” is a verb meaning ‘to heat’ something with fire. “Sugi” is the word for cedar. Translating literally, Yakisugi means “burned cedar.” This is because yakisugi is exclusively made by burning cedar at an intense heat. Yakisugi or shou sugi ban is a preservation technique to lengthen the lifespan of wood by charring the surface until it appears a deep charcoal black.
How to use Shou Sugi Ban
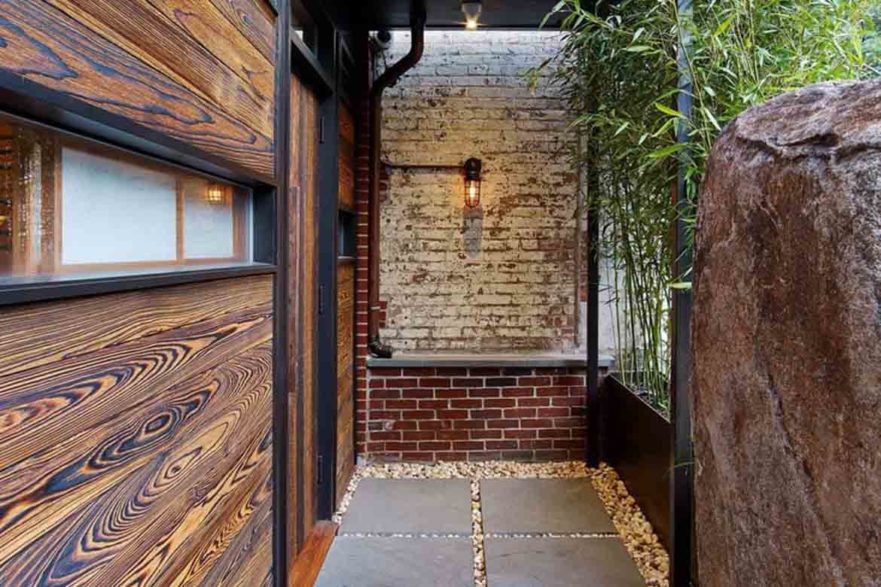
Traditionally, yakisugi / shou sugi ban is used for wall, fence and ceiling cladding only. However, Yakisugi has become popular in modern décor – largely for its aesthetic value – and non-traditional uses of Japanese wood burning have started to take off.
Benefits of Shou Sugi Ban: why do it?
- Durable
- Low maintenance
- Waterproofing
- Pest-resistant
- Weatherproof
- Chemical free
- Long lifespan
- Fire retardant
- Fade resistant
- Aesthetic appeal
Japanese burnt timber has a heightened resistance and durability to all manner of damage. Wood-consuming insects such as termites cannot consume the charcoal layer which forms during Yakisugi, making it a pest-free material which does not need to rely on toxic or dangerous chemical treatments.
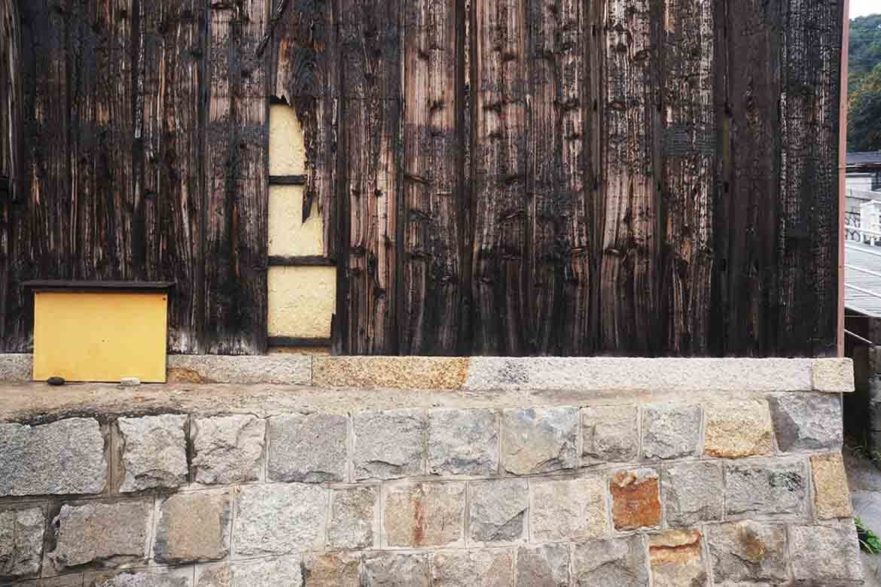
It is also water, weather, fire and rot resistant as the pores in the wood shrink significantly during treatment. On top of this, Japan black stain burnished wood furniture has very low maintenance demands. Outdoor Yakisugi requires oiling only every 10-15 years (easily the standard expectation for all wood products). Interior and aesthetic Yakisugi needs virtually no maintenance other than a dust off every now and then.
History
The earliest written use of the word ‘Yakisugi’ was in the 1930s. However, the practice has been around for centuries. Japanese structures clad in Yakisugi charred wood have been dated back to the Edo period (1600-1800) and it is widely believed that Yakisugi first began in the 18th century.
In its early days, Shou Sugi Ban was initially considered a low-class material. Used primarily by merchants to protect the goods in their warehouses from fire – a pressing threat at the time – Yakisugi was an affordable material with huge protective benefits. The fire protection offered by Shou Sugi Ban may even be linked to the rise of the merchant class towards the end of the Endo period.
The popularity of Shou Sugi Ban / Yakisugi has waxed and waned over the past few centuries. In the 1970s, manufacturing picked up again on an industrial scale. Now, Shou Sugi Ban has become a celebrated material with interior designers and architects across the globe. Architects like Yoshifumi Nakamura and Terunobo Fujimori have paved the way for traditional Japanese wood burning to take centre stage in the world of international design.
However, traditional Shou Sugi Ban house cladding can be quite expensive. It usually costs at least $50-$95 more per square metre than regular timber, and standard Yakisugi price ranges are around $270-$330+ per square meter. As a result, many turn to DIY.
DIY Shou Sugi Ban Australia Step by Step: how to waterproof wood furniture for outdoors
1. Do your research
How to waterproof wood for outdoors?
Shou Sugi Ban is not a simple process, though many articles on the internet will attempt to convince you that it is. The temperature required to actually produce charcoal without completely charring the wood is very difficult to achieve and near-impossible to do with a weed burner or other non-industrial torch.
If you are willing to purchase one, ice melting torches are the best bet for a non-traditional DIY Yakisugi job. However, the traditional method exists for a reason and is likely the safest low-tech option for those unfamiliar with high-intensity torches.
2. Find a venue
How to treat pine for outdoor use?
Making Yakisugi requires a lot of space and ventilation. You need to be far away from flammable materials and ideally well away from your house. The best place to do Shou Sugi Ban is an acreage property where you can walk to an ideal space – a flat surface with little to no grass, and NO dry grass that could catch alight. In a pinch, a large backyard could do – but you will have to be vigilant and very careful.
3. Gather the materials
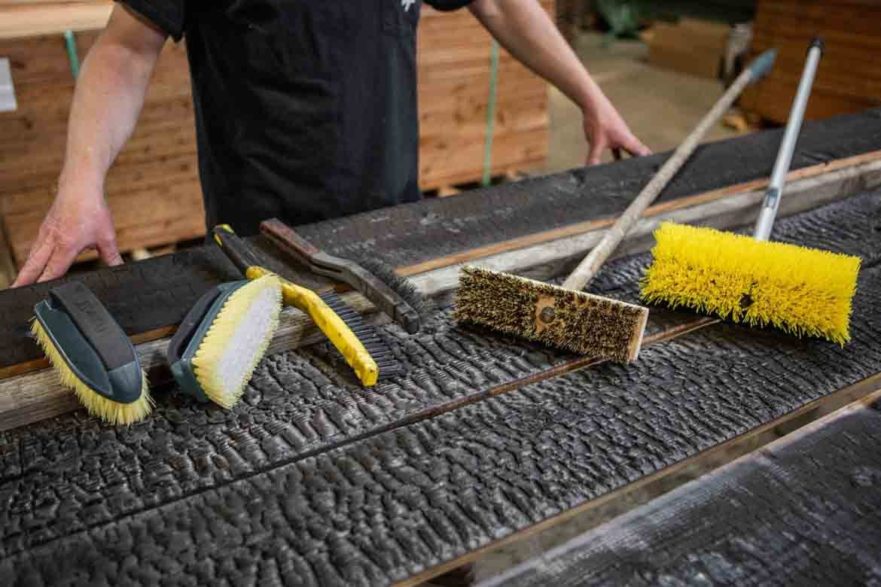
Cedar is the most popular wood for Shou Sugi Ban for a reason. Cedar is light and porous, with chemical advantages that help it char on the surface without burning all the way through. Other types of wood which can work for Shou Sugi Ban are:
- Hemlock
- Maple
- Oak
- Basswood
- Pine
On top of the wood, you will also need
- Wire
- Wire brush
- High intensity ice melting torch (modern method)
- Metal beams (traditional)
- Non-flammable structure to lay planks on
- Wood for the fire (traditional)
4. Set up the burn site
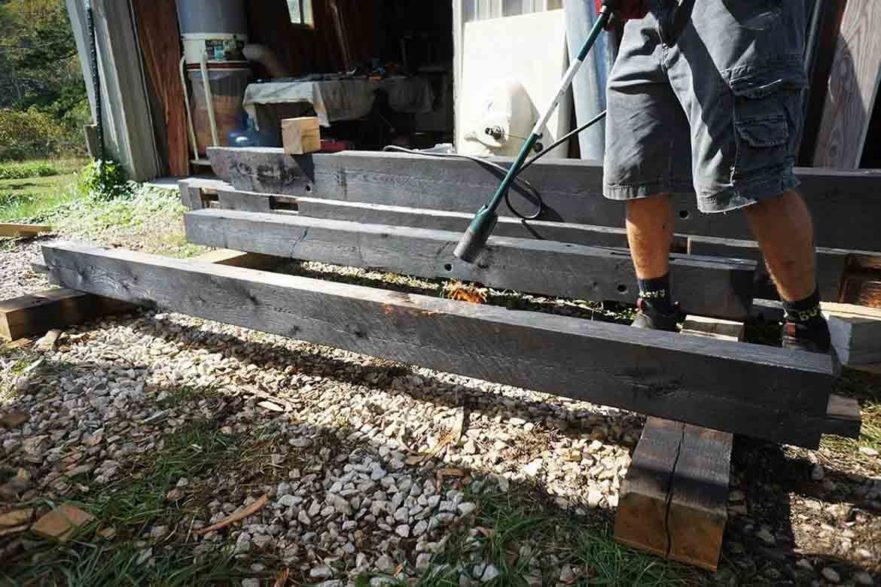
Depending on your technique, you will have to prepare the site differently.
For those using a blowtorch or an ice melter, you need a surface on which you can lay the planks of wood down flat. You will need to be able to walk around all sides of the wood to ensure an even burn, so make sure the space around the area is clear.
Do not lay too many planks out at once. If you start and cannot reach the plank in the middle or another area is out of reach, this risks ruining your planks and could even cause a fire.
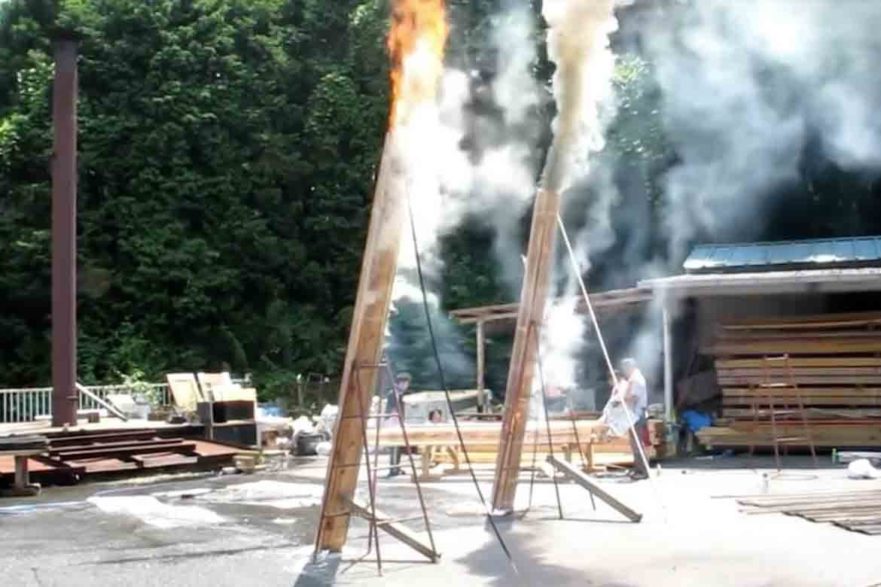
If you are setting up for a traditional burning method, you will need a tall triangular structure made of non-flammable material (ideally metal beams) that you can lean the planks of wood onto. You will also need a space to lay the burning planks on while you put them out.
5. Organise the timber
Lay out the timber ready to burn. Have a plan for how many planks you will burn at a time, where you will store the finished planks, and what you will do after finishing each one.
If you are doing the traditional method, you need to make a prism out of three planks of wood and secure it with wire (called a ‘flue’). This is how to burn into wood without destroying it. The flue will make the fire burn the inside alone and the trapped heat will allow it to get extremely hot, charring the face without ruining the board.
6. Begin the burn
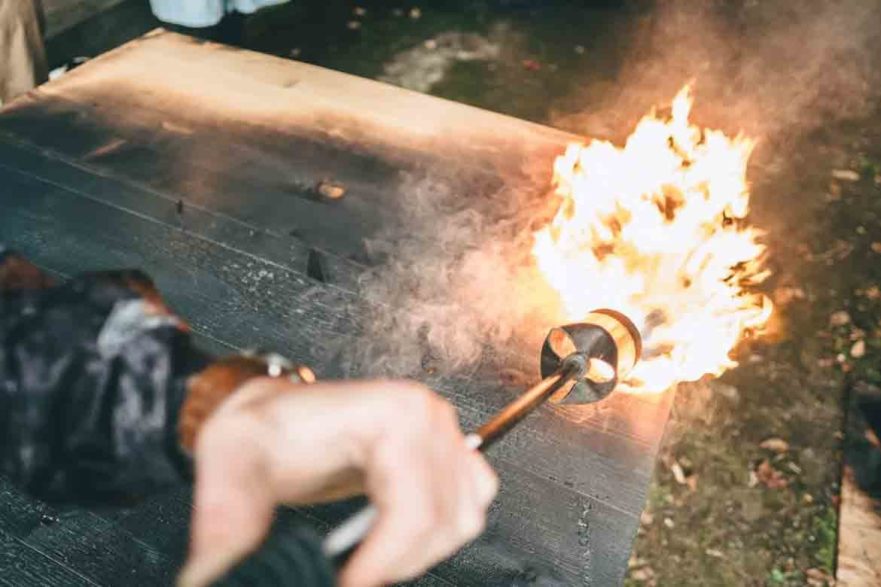
If you are using a blowtorch, you need to ensure that you are moving the torch evenly over every part of the wood. You should spend about five to ten seconds burning each area of the wood, and a few extra on the end grains as they burn slowly. You can judge by eye when it is ready as the wood will turn black and develop a layer of soot.
For traditional methods, this means placing the flue vertically over a small fire and getting the inside to catch alight. Grey smoke is good – it means the fire is burning on the inside. White smoke means the fire has gone out, which will be difficult to restart. Keep the flue on the fire for about one minute (two at the absolute most) and then flip it so that the top side is now burning on the fire. All up, the process should take 3-5 minutes and produce 3 planks of heat-treated wood.
7. Don’t look away
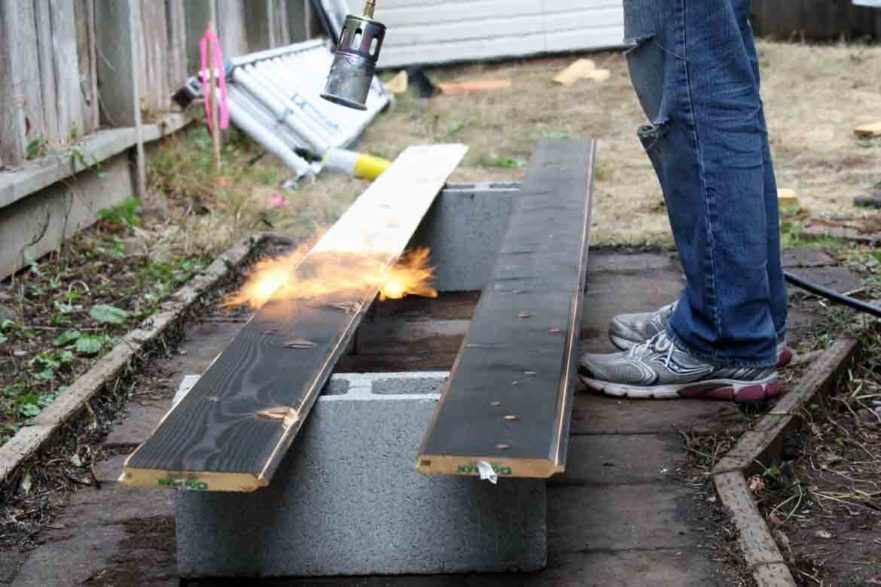
You cannot be distracted during this process. Note the smoke colours and the state of the wood. If it is burning on both sides, you will need to put it out. A second too long on the blow torch will leave your plank wildly uneven.
8. Quickly water the burned side (quenching)
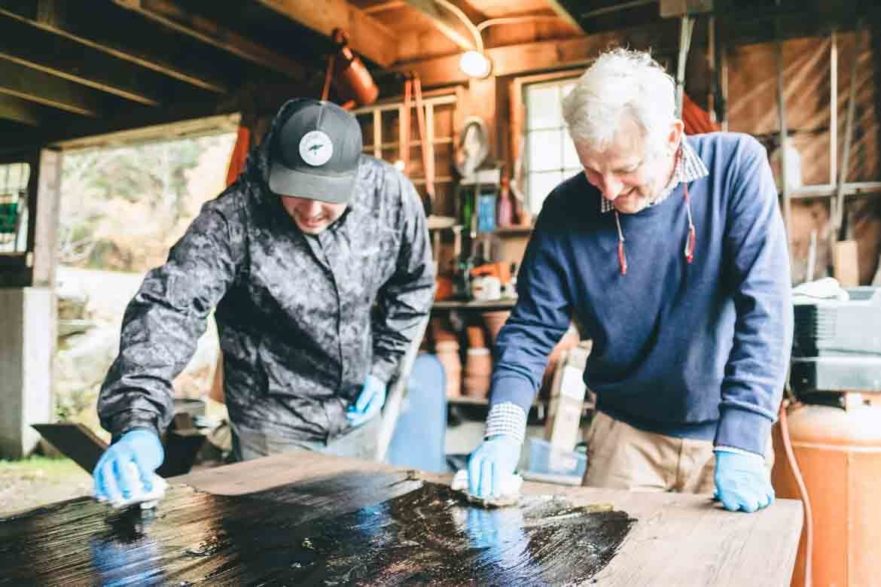
Once you have finished burning, you need to lightly water the timber as quickly as possible. Use a watering can to stop it from smoldering.
9. Clean with wire brush
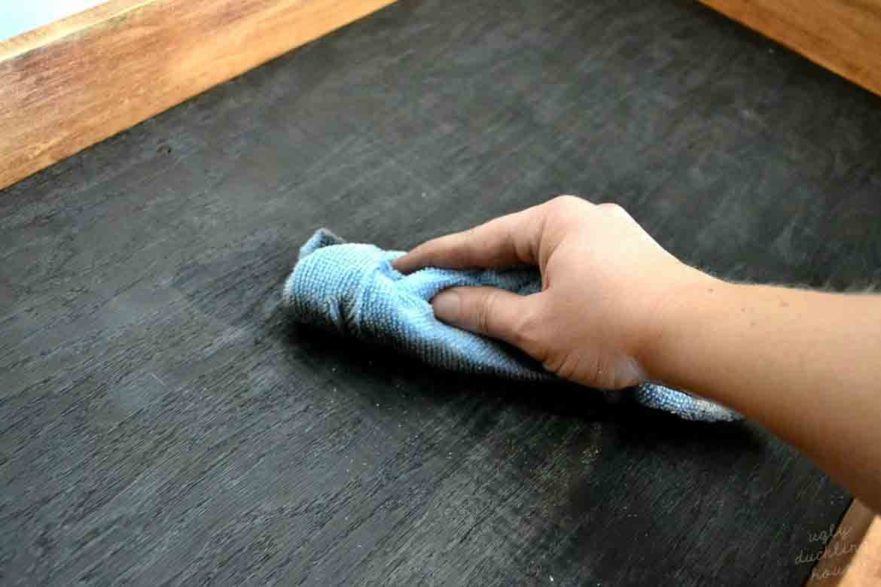
Wipe off the soot and char with a wire brush. Follow the grain of the wood and brush off the dark debris. Underneath, the timber should be a very dark black or brown. The finish will look a little uneven and it should have bumpy, scale-like texture as a result of the burn.
10. Sticker to dry under weight
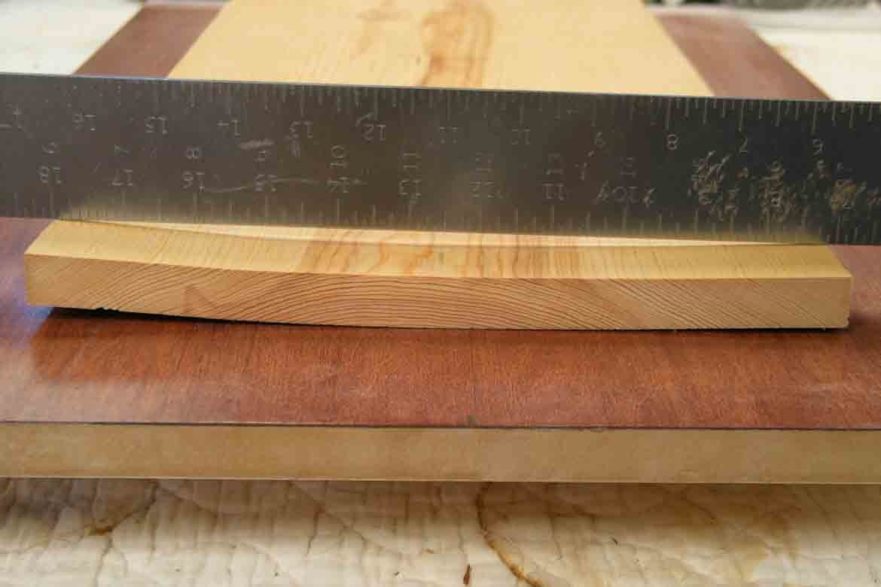
When exposed to such intense heat, the wood will warp (usually curling inwards). To make sure that it straightens out enough for use, sticker it under a heavy surface and wait. This will make it dry flat and into place.
11. Design it how you like
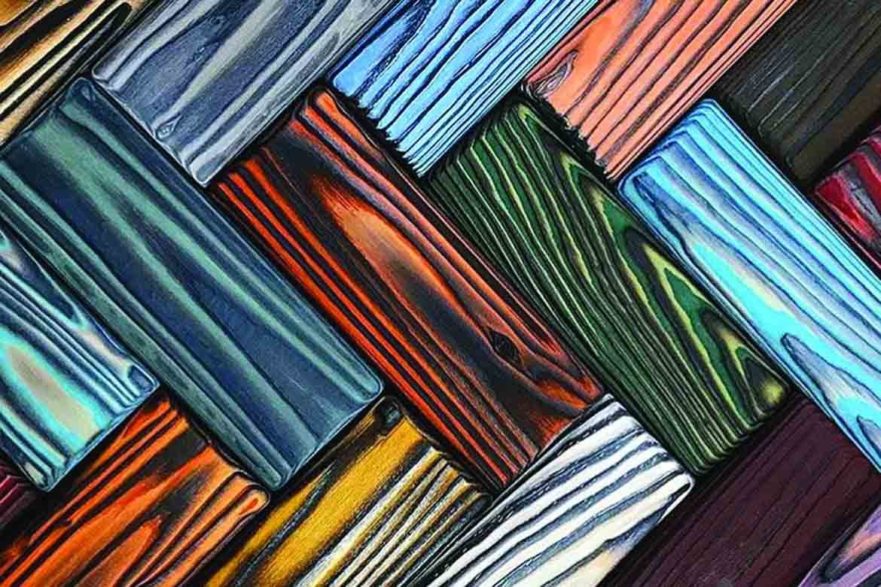
You can play around with the aesthetic of your burnished wood by polishing or subjecting it to a colour stain. Whether you want it for a table or simply want to learn how to waterproof wood for outdoors, Shou Sugi Ban is a versatile material perfect for furniture and waterproofing outdoor furniture.
Best Shou Sugi Ban suppliers Melbourne and Australia
